
Today I'm sharing with you an easy repurposing project. The project itself is easy, but finding unique treasures, like this amazing old chippy paint, tin ceiling tile, is the hard part.

I started this project with the ceiling tile (purchased from a friend who buys/sells furniture for $10) and some wood rescued from the side of the road. The boards on the back of this project, started out looking like this:

In fact, here's a little sneak peak at our "side-of-the-road-wood-find" collection. Hence, why there are no cars in the garage. Who can pass up free wood...am I right or am I right?

I started out by removing the boards from the section of old fencing. I cut them off with our Dewalt cordless circular saw and them evened them up a bit. I used wood glue on any that were cracking too bad (as seen on the far right in the picture below) and clamped them for a few hours.


Then I used tiny little brad nails that I had on hand (you can barely see one in the top left corner of the picture below) and nailed the tin onto the front boards. Because the tin already had some much color variation in the paint and rust, you can't even notice them.

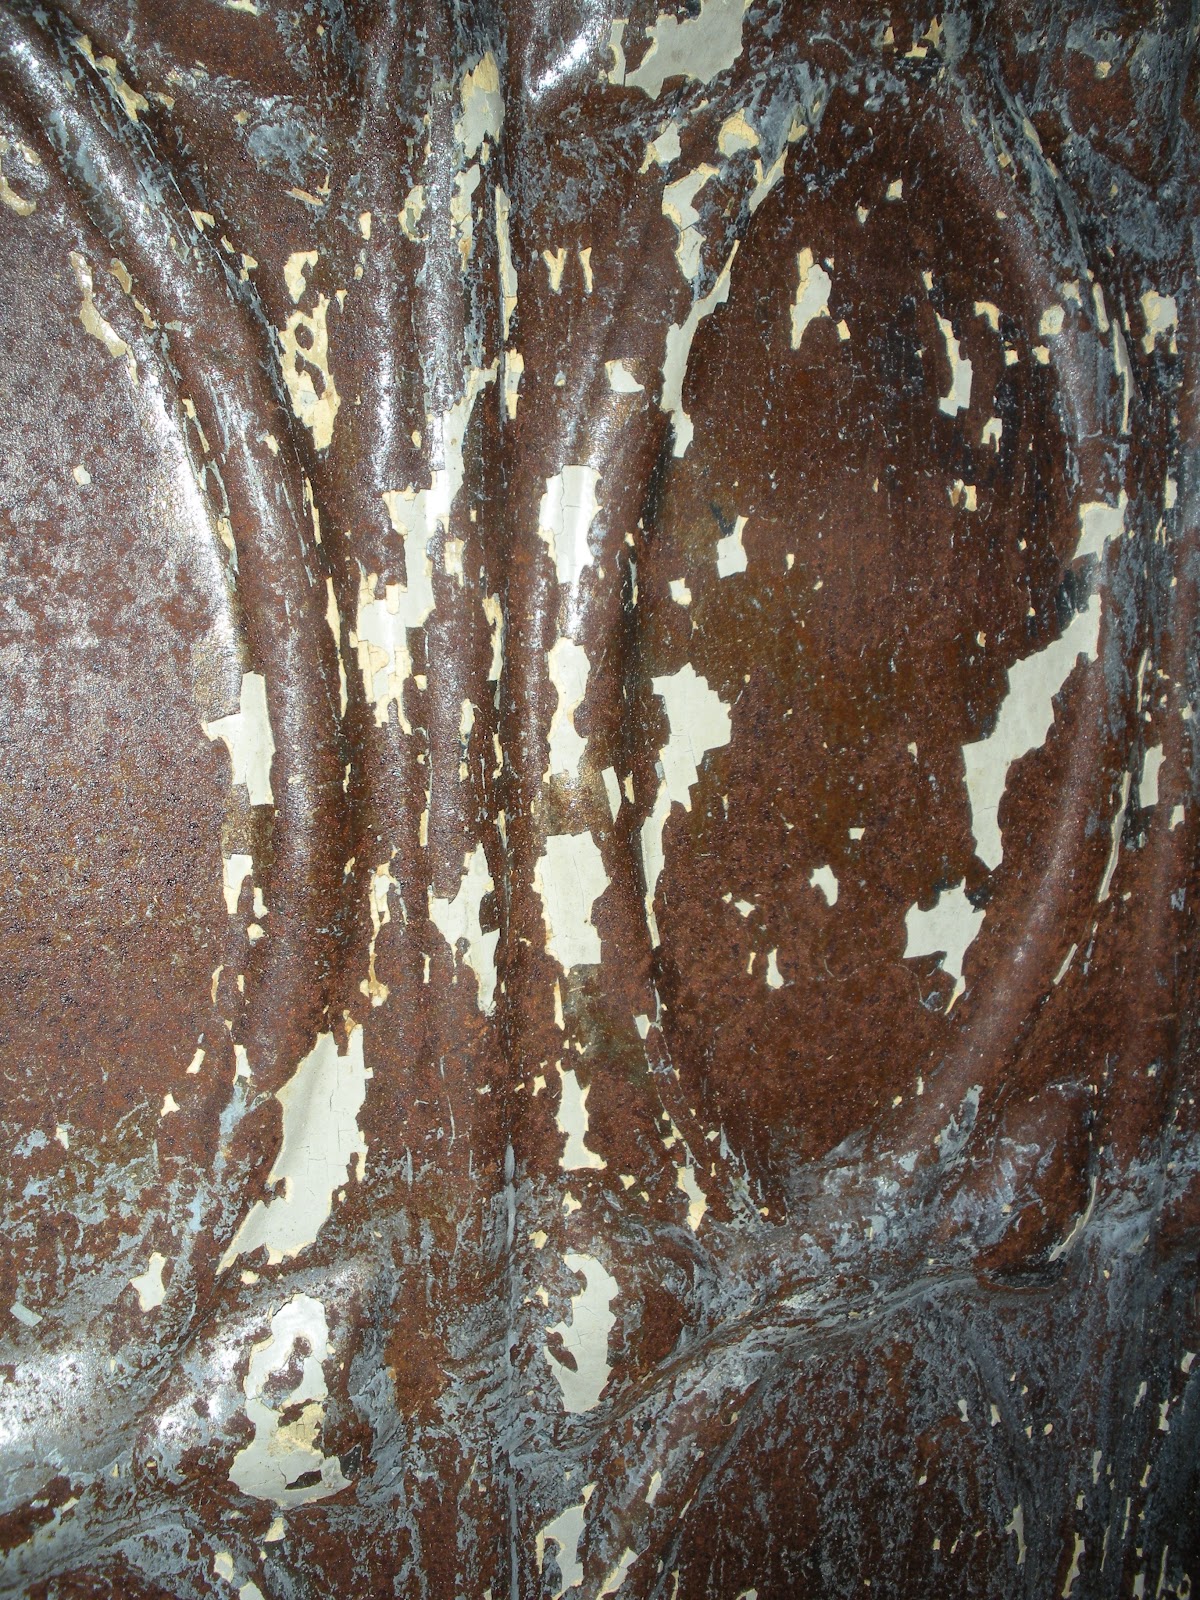
Just look at the chippy paint goodness!! I should probably mention that I slightly sanded, using 220 grit on my Dewalt orbital sander) all the boards before putting them together just to get rid of any rough areas and splinters. I followed that with a coat of Minwax paste wax. I also used the air compressor to blow of any loose particles on the ceiling tin and sprayed it with a few coats of polyurethane to preserve it and protect us from the rust, etc.
Here it is on my mantel. The mantel is not completely finished at all, but after taking down Christmas decorations yesterday, I had to get something up there because it looked so empty.

And, finally, an overall view of the fireplace/mantel...look for a tutorial coming soon on the wood box in the bottom left. Justin just made that using...you guessed it, free wood.

I'm linking up at the following:
 Knick of Time
3 comments:
Your ceiling tin project turned out fantastic. I love old ceiling tins. It looks great above the mantel.
I'm a new follower and hope you'll stop by and follow back.
Mary Alice
Wow - it looks fantastic! It was a great idea to mount it on some salvaged wood!
Thanks for sharing at Knick of Time Tuesday!
Blessings,
Angie @ Knick of Time
This is awesome
Post a Comment