
Hello Everyone and Happy Memorial Day Weekend. I am so thankful for my husband who serves this country with his service and dedication to the Air Force. I am also thankful for my grandpaw, father-in-law, grandpaw-in-law, and countless other men and women who have served in the past and are serving now. The sacrifices that each of them make and have made are tremendous. Please take a moment to pray for the continued safety and guidance for my husband as he continues his service to our country to protect the freedoms we have.
I'm happy to report that my house/bedroom is finally coming back into some order. I have completed the bedroom mini-makeover and will share more on that soon. But in this post, I'm sharing how I updated my outdated mirror with a wonderful barn-wood look. Hello gorgeous mirror!

Just so you remember...here was the atrociousness that we started with. Enough said.


So, I started by turning the mirror upside down on a drop cloth and removing the braces that held it to the dresser. I wanted to protect the mirror from scratching while I did this.
Next I went to one of my favorite places...the corner of the garage where we store all of the side-of-the-road wood treasures we have picked up. I would be happy to have my weekly date night with the hubby here amongst all the goodness of free wood in the garage.

So, I chose some old gray, weathered, thin fence boards. I picked out four of them.

Next, I used the ever so perfectly cutting saw to cut the two longer ones down for the top and bottom of the frame. I had done a rough measurement by just laying them on top of the mirror's original frame. I cut one and tested it again on the original frame...it looked good, so I continued with the cutting.

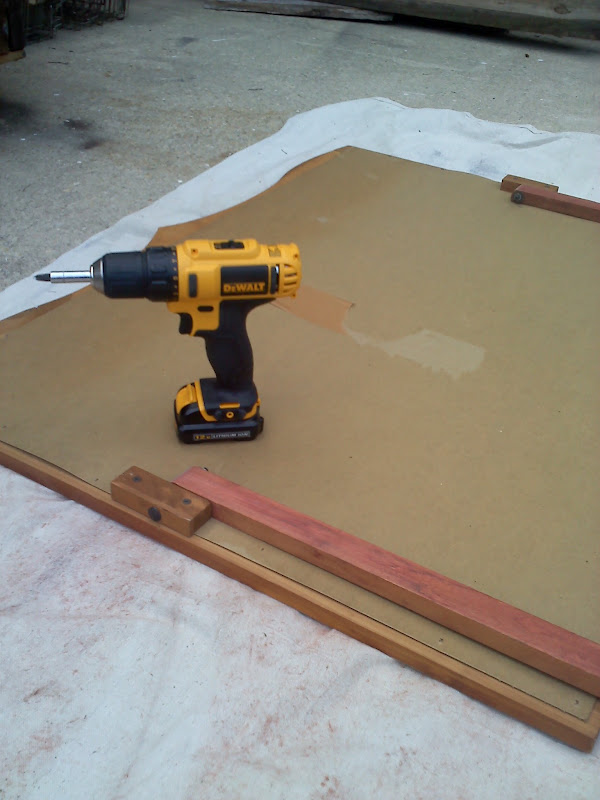
Here, I'm just laying it out to test everything.

I then cut the two smaller pieces for the sides and laid them out for visual testing as well.

Then it was time to put this baby together. I'd like to tell you that I glued it first, or used clamps to hold it in place, or measured everything, but in true JUNKtion fashion, I sorta just went at it. I randomly placed three screws on each piece of wood. I just screwed directly into the top of the original mirror frame. I didn't space the screws in any particular way...I mean we're talking a barnwood look here...no such thing as perfection. Well, actually the whole thing is perfection in my book, but you know what I mean. I digress.

Later, I painted over the screws with a mix of a bit of glaze and black acrylic paint that I had on hand. That's what the black spots are below. I think it blends in with the other knots and holes and adds to the overall look of the wood.

I used the air compressor as a cleaning tool and removed all the extra dust and particles. The frame got a coat of Minwax Paste Wax in Natural. I also added to d-ring hangers and a wire to the back to hang it by. I cannot tell you how happy I am with it. I placed it above the recently refinished dresser (you can see that tutorial here).

Thanks for stopping by!
I'll leave you with a side by side before and after:
Linking up to these great parties:


1 comment:
The mirror turned out gorgeous! Im jealous of your wood stash!
Post a Comment