January 31, 2012

Bath Time

Actually, it's more like bed time, so this post will be pretty short, sweet, and to the point.  Today was work day / janitor day at the Thrift Shop, then a couple painting projects for clients, housecleaning, and cooking for our neighborhood dinner share.  I'm pretty beat (and I'm getting old), so now it's bedtime and it's not even 10:00.

Thought I would share with you a really quick project I did in a matter of minutes over the past weekend. 
I had picked 2 of these doors (I think they were old cabinet doors) up a while back at a garage sale and didn't really know what I was going to do with them.  They were already white and glazed in the detailed area...and even better, they were 50 cents each, so I knew I would put them to good use at some point.

 I was recently shopping at a local Flea Market where my friend, Beverlee, has a booth and she had the cutest hooks in her booth for sale at very reasonable prices.  Some birds, owls, and these "hot bath" hooks.  I snatched up a variety, but ended up with two of these.  Once I got home, I realized they would be perfect on the doors turned boards that I had picked up previously.
 All I did was put a saw-tooth hanger on the back.  I picked up this 6-pack of hangers at Wal-Mart for .98 cents.  Unfortunately these little jewels are approximately $3.50 at Ace and Lowe's for the same size/style.  So, Wal-Mart wins!  By the way, I love Wal-Mart.  I know there are lots of people that hate it, but it has always been my go-to store for one-stop shopping.  Sorry peeps, I'm just not a Target fan.  Not to mention there wasn't a Target in my little bitty neck of the woods growing up, so I never got used to it.  Heck, we only got a Wal-Mart a few years back.  Ok, so I may have grown up in the sticks in Oklahoma.  (And I love it there!)
 The hooks already had 2 holes for screws on each side, so I just put two rusty looking screws straight in.  Here it is...must have took all of 5 minutes to complete.  Sorry the pictures are dark.  The sun was already set when I took these.


 Oh, and a few of you mentioned that you wanted a rake hanger (aprons, purses, coats, etc.).  Here is one that I just finished that's up for sale.  Let me know if you want more info on it.

Goodnight!

January 29, 2012

Cottage Chic Dresser

Howdy!  It's time to share another dresser with you.  This is what it ended up looking like, certainly not what it started like.  I sure wished I was a better photographer, because then you would really see how pretty of an aqua/blue this is.  It looks really light colored here, but at least you get the idea. After:

Before: (except for you can't smell the insanely-overwhelming-knock-you-over cigarette smell it started with).  I sure questioned why I bought this as soon as it was in my car and the doors closed.  The house had a faint smoky smell when I was purchasing this at an estate sale (for $35) but there were no signs that warned me it was going to be this bad.  Let's just say I went through two big bottles of vinegar to get this baby smelling non-smoky.  To start (after removing the hardware) I simply rubbed the entire piece down (inside, outside, drawers, etc.).  Set it in the sun and as it dries, the smoky smell and the vinegar smell goes away...well, at least that's been my experience in the past.  Not so much with this stubborn piece.  So, I filled a spray bottle with vinegar on the next day and drenched everything letting it dry in the sun...better, but nowhere near good.  Repeat. Repeat. Repeat. Repeat....ahhhh, finally bye bye cigarette smoke smell. Again, questioning my judgment with this purchase.  But at least at this point I have a normal starting point, so I guess the dresser and I can remain friends.
 I sanded the top down to wood with my Dewalt orbital sander:  60 grit, 80 grit, 120 grit, 220 grit.  I sanded everything else down with my sander at a 120 grit...just enough to rough it up and take off the shine.
 Using Benjamin Moore's Smart Prime tinted to match their Mill Springs Blue paint, I painted the dresser frame, the mirror, and the drawers.  My primer job always looks sloppy...that's just how it works with primer. Go with it.
 I was working on a couple projects at once, so you can ignore the drawers that are painted white...that's another post for another day.  But you can see the blueish aqua on the drawers here.
 Here's the mirror after priming.
 After a coat of Benjamin Moore's Mill Spring Blue, here's what it started to look like.  Again, you can play "which one of these doesn't belong"?  Oh, it's the white drawers!
 I had some fabulous help this day from my neighbor girls and my little puppy.
 Back to the dresser.  I used my all time favorite stain for the top - Minwax Dark Walnut.  You can see that I picked that can up at a garage sale for .50.  I love some cheapness!  To save yourself headache during cleanup, be sure to wear gloves for this process.  Also, be sure to stain with the grain.  I always use a sock or t-shirt scrap to stain with and then dispose of afterwards.
 Next up was spray painting the hardware with my every so trusty ORB spray paint. I may or may not have an obsession with this stuff.  Just sayin.  You can pick this up at Lowe's or Home Depot for around $7 a can.  It goes a long way when using it primarily for hardware.  For the look it provides though, it's soooo worth the investment.
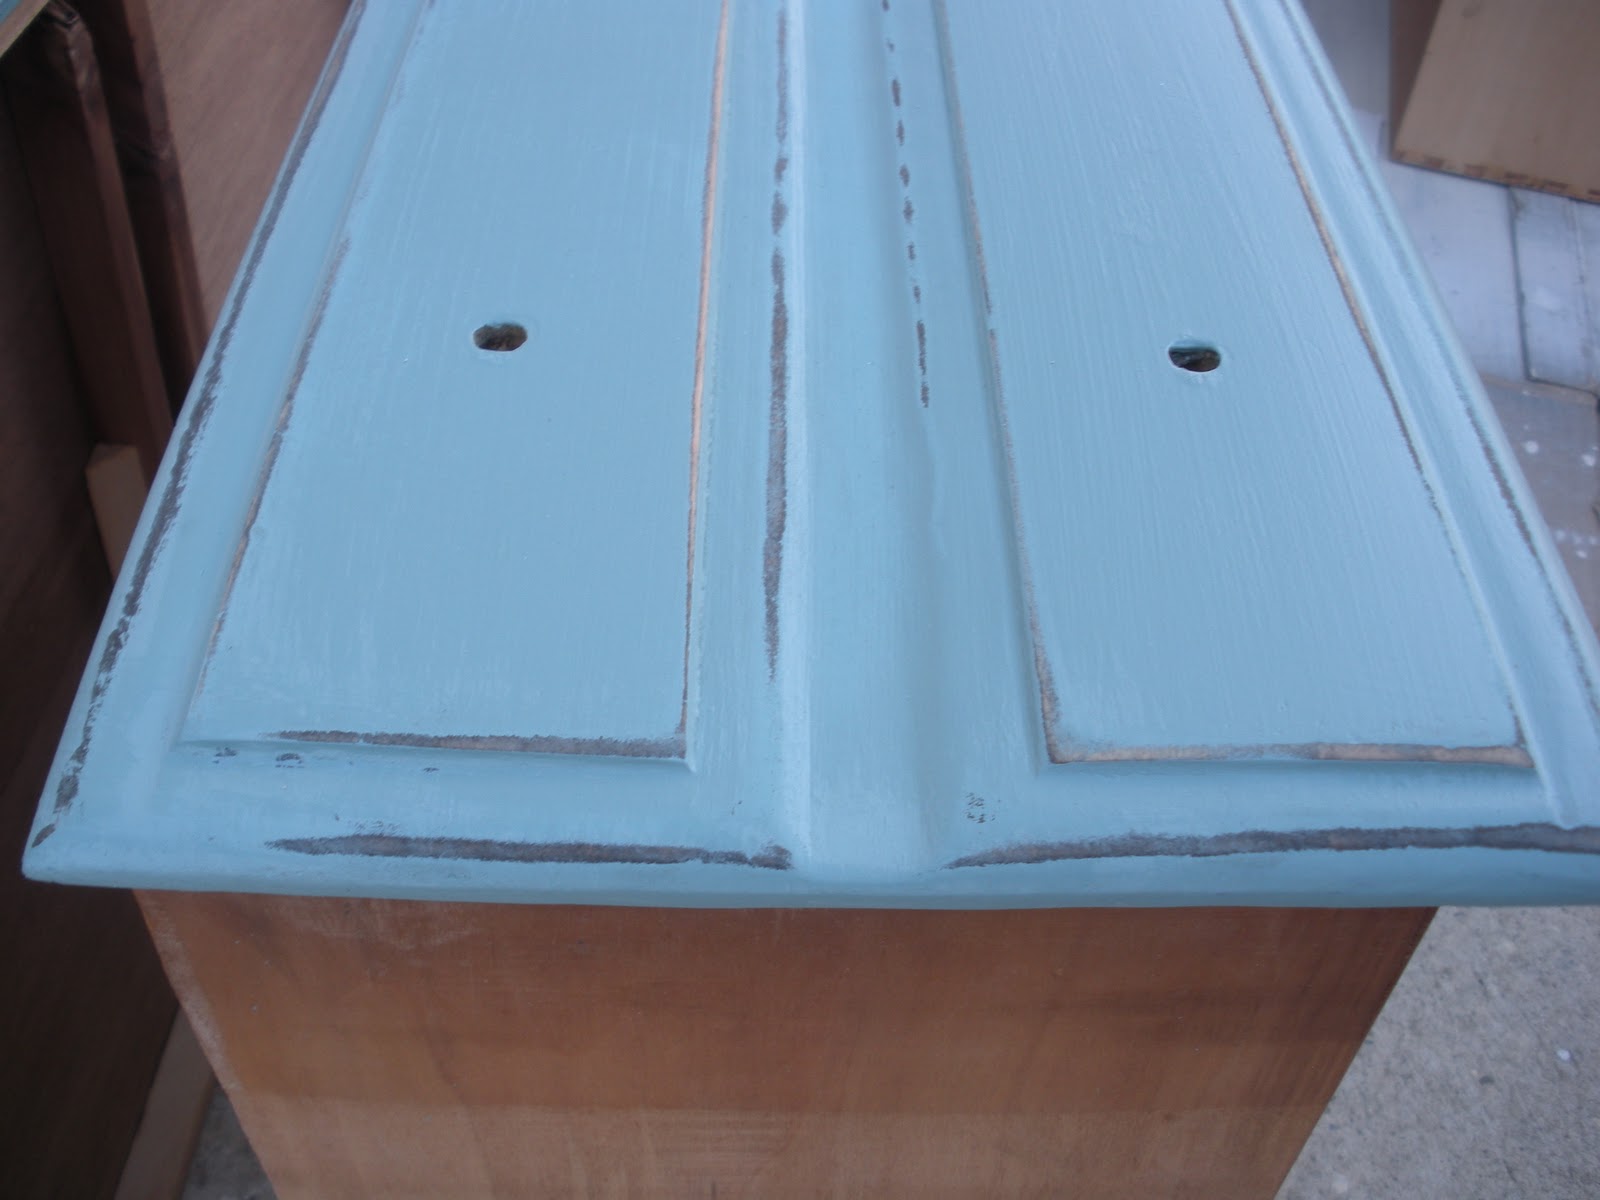
 Using my sander at with a 220 grit paper, I distressed the edges of the dresser, drawers, and mirror.
 This is a much more accurate color of the paint than all the rest of the pictures below that you are about to see.
 After putting it all back together:
The entire piece was sealed for durability and protection with Minwax Paste Wax in clear (available at Lowe's). This is a popular color and look down here.  I'm sure it will go fast to a beach house or condo.  This piece is currently for sale in my booth space at De'France.
Let me know if you every have questions about the processes I use.  I'm sure there are better and more "right" ways of doing things out there, but I just like to share what I use and what works for me.  I'm always trying new products and techniques and evolving as I go.

I'm linking up at:
Primitive and Proper POWW
 

January 28, 2012

Edible Art for Kids: Painted Toast

I live in Florida and all my sisters and their kids live in Oklahoma/Texas.  This is just not right.  I miss them like CRAZY.  I am so blessed to be so close to my entire family.  My sisters and I are best friends.  We talk everyday and I get to talk to my nieces and nephews every day too...it's always one of the biggest highlights of my day.

Just thought I would share a fun food craft that they did yesterday, compliments of my sisters (Holly) genius brain.  I present to you: painted toast!  This works best with white bread.  It was the perfect after school snack/activity.

After they all had their aprons on, it started with melting butter into a few small glass containers (they used Pampered Chef prep bowls....love those!!!) and adding just a bit of food coloring to each bowl.  Then they used art paintbrushes purchased at Hobby Lobby or Wal-Mart (that they keep separate for food projects) to paint the colored butter onto the toast.  Here's Avery painting her toast.
 Artist Jordyn painting her bread.
 Kyle Joe working on his masterpiece.
 After they were "painted" they were toasted and here is the finished edible project.
 Avery, Jordyn, and Kyle Joe eating up their artwork.
 What a fun and creative idea, and super easy too! 

January 26, 2012

Suitcase Table

Happy Thursday Blog Friends! The week is nearly over and wowzers it has flown by fast.  I've got a pretty short post for you today.  This one is an easy transformation of a suitcase into a side table.  I got this adorable old Hartman suitcase at a thrift store for $10.00 and found the old luggage rack on the side of the road.

People always tell me (even right here in the town I live in) that I'm just lucky because they never find "good" stuff on the side of the road.  I'm here to tell you that I would have to disagree.  I think the key to it is always have an open eye for this sort of thing while driving and for me, the way I find most of my curbside treasures is by simply taking different routes.  When I'm going to work or to the grocery store (or anywhere really), I try to take a different route, even if it's just a couple different streets.  It's amazing how many things I find by doing this.  I suppose having no shame helps as well.  For those of you who wait until "dark, so no-one will see you"...guess what??  You're losing out to people like me.  Be proud of your finds and pick them up with pride!

Alrighty, on to what you're here for...the transformation of the suitcase/luggage rack/table/stand/storage thingy.  Here it is once I completed it.  My Dad was visiting and helped put this together, but I'm telling you - it's EASY!

To get started, I used saddle soap to clean up the suitcase exterior and used paste wax to seal and protect the base (old wood luggage rack).


I set the suitcase on the open rack to determine the best layout and simply put 4 screws through the inside bottom of the suitcase (yep, I went right through the liner) and into the wood luggage rack below.

Oh, and just in case you think I always look like I did in the breathing mask picture the other day...here's proof that I don't always wear that huge pink face accessory...blurry, I know, but I don't really have too many pics of myself to go with here.

Here's the finished product, along with my little sidekick hanging out in the background.  This piece is currently for sale at Smith's Antiques in Destin, FL.  So, what have you repurposed lately?  I'd love to hear about your projects.


 I'm linking up at: