
Today, I'm sharing with you a SUPER easy side table transformation. For this one I cheated: spray paint! Well, it's probably not really cheating, but compared to hand painting, it feels so easy that it must be cheating. I actually don't hardly ever use spray paint, but every now and then I have a piece that I just feel like it will work well on. This table was one of those. So, with a can of spray paint (and a few other handy items), here's the transformation:


I picked this piece up at the Thrift Store on base that I co-manage. When people find out I work at a Thrift Store part time, they always think I must get amazing deals and find furniture all the time. Well, I do find amazing deals and I do get some furniture there, but I don't find furniture every day. It's definitely hit and miss. But I do find great bargains every day, just not always furniture. I am so blessed to get to work there because it falls in line with everything that I love doing.
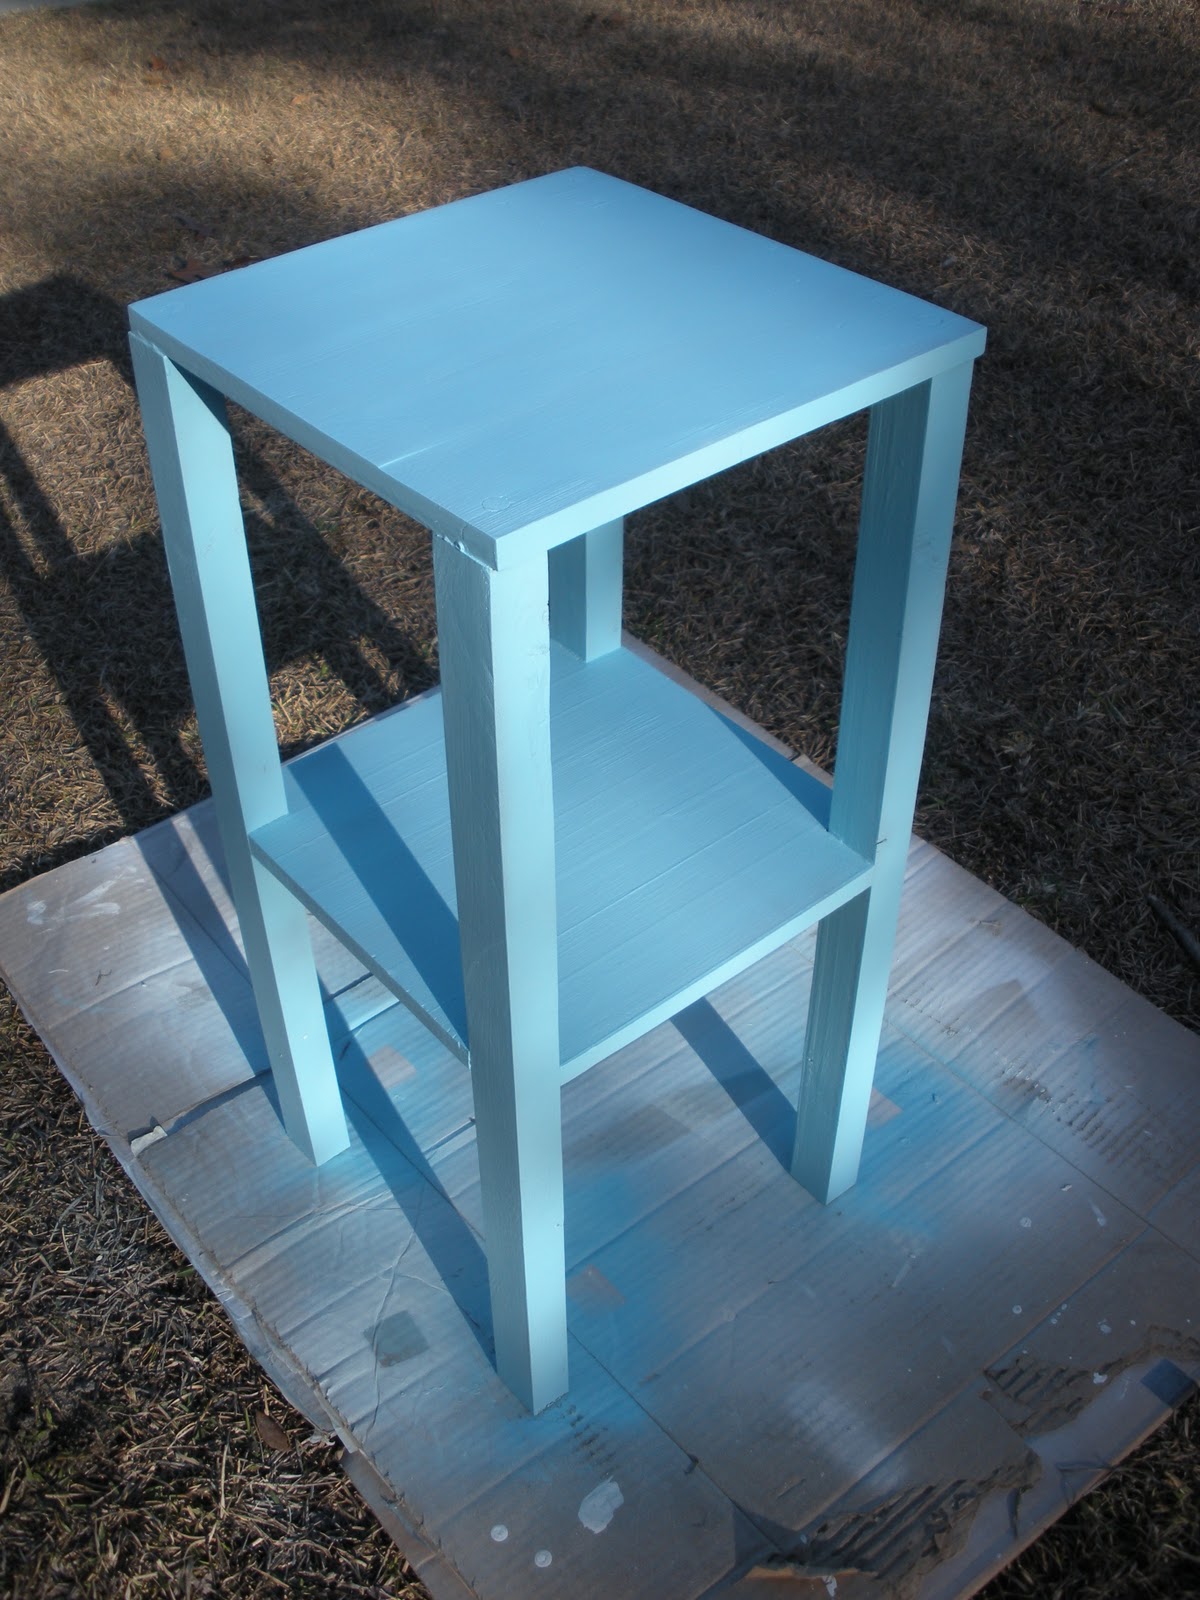
Back to the nightstand...picked it up for $4.50 (and it's solid wood!). After lightly sanding and wiping down with a damp rag, I painted it using Rustoleum's "Aqua" spray paint in a satin finish.


This is what it looked like after three coats with ample dry time in between. Following that I used my orbital sander with a 220 grit to give a pretty heavy distressed look. I followed that with a coat of Minwax Dark paste wax. The thing with spray paint is that, for me, it doesn't work quite as well with my wax products as some others. If I'm giving it a distressed look, it's not a problem. But if I'm going for a very polished, finished look, I definitely would not put wax over my spray paint, as it pulls off some of the paint color as shown on the rag on the picture below.


This piece is for sale at De'France right now. Happy spray painting!

No comments:
Post a Comment